
I love shopping cart covers! They not only protect your little one from germs but they can be stylish buggy accessories! Okay maybe not... but that germ protection is reason enough to love them right?
A friend of mine approached me and asked if I could make one for her son. Her significant other did not want one of the "girly" cart covers out there with the floral prints etc... He wanted MANLY! So we did manly L.A. Lakers style!

While I was in the process of trying to figure out whether I wanted to wing it myself or wimp out and buy a pattern someone suggested turning it into a tutorial. So... I did!
Here ya go! Enjoy! (tutorial after the jump)
Supplies:
Sewing Machine
Needle and thread to match fabric
two pieces of 42"x42" fabric (one piece for the top and one for the bottom)
Batting (optional if you want some cushion to the cover)
Bias tape ( 52 ") or bias tape maker
1.75 yds of 3/4 inch elastic
Ruler

Lay your fabric on the floor or other large cutting area and cut your fabric to 42" X 42"
(if adding batting cut out a piece the same size as your fabric. )


Next find the center of your fabric and measure 13 inches up from the bottom of your fabric (I used a old shopping cart cover for some of my measurements) This is where the leg holes will start...

Measuring from your center leave an inch on either side for the middle of the crotch area than make a 6 inch by 6 inch square cut out. You can choose to round your corners if you would like but I did not.
(remember if your adding batting to cut the holes out of that as well!)

Put right sides together (& the optional batting as a third layer) and sew all the way around your cover leaving a 3 inch opening for turning... than sew a 1 inch wide casing for your elastic as pictured above!

Thread your elastic through the 3 inch opening that should still be open, sew together and WAH-LA! Cart cover!!! Oh wait...

Remember that nasty 3 inch opening staring you in the face? Now you have to hand sew it closed with a ladder stitch! Don't worry it's easy peazy! Go Here for an illustration on how to do it.

All done? Good! Let's finish it up!

If you did not just buy bias tape and want to do this the hard but much cuter way! Grab your handy dandy Bias Tape Maker... I have a handheld one instead of a fancy electric one!

Pull the fabric through the bias tape maker

Pin the fabric to the ironing board so that it stays in place as you pull back.

Now press while pulling the bias tape maker backwards.

Isn't it gorgeous?
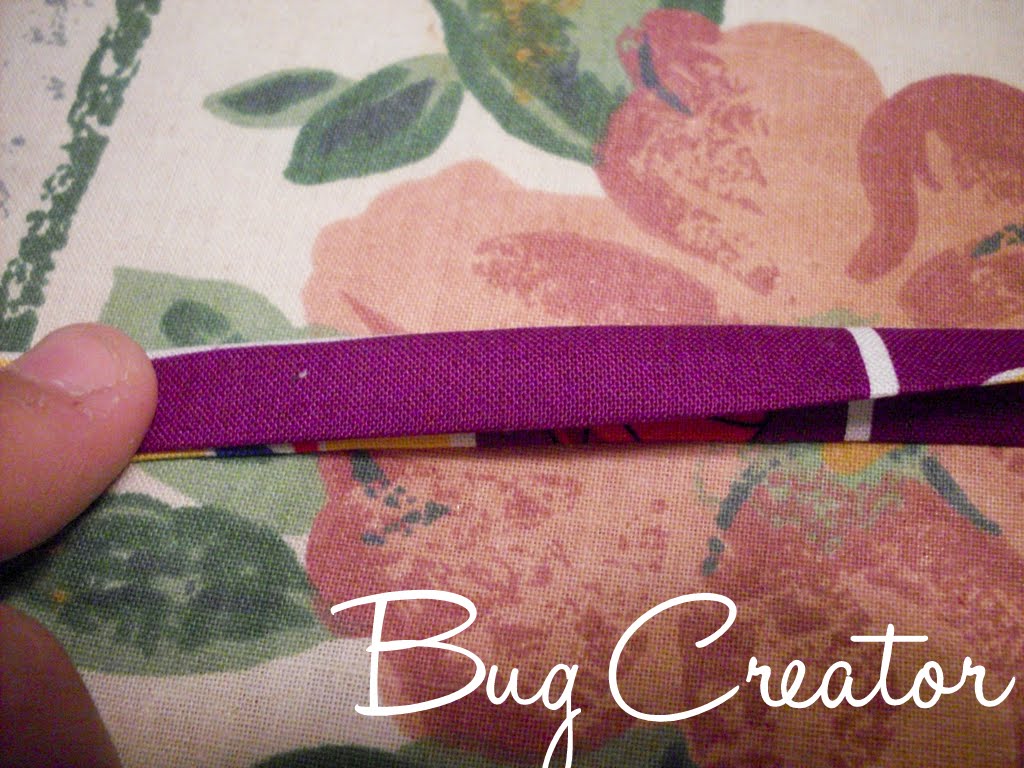
Fold it in half and iron!

Now take that beautiful bias tape you just made (give yourself a pat on the back) or the one you bought (don't worry your amazing too!) and pin it all the way around the leg hole by folding it over the raw edges. Take the two ends of the bias tape right sides together and sew a very close seam.

Very close.

Now sew the bias tape all the way around the leg...

ooohhhh aaahhhh.....

Now we need somewhere for the straps to go to hold that little bundle of energy into the cart. Grab your buttonhole maker and select a standard buttonhole on your machine. For my machine it was #35.

Now for this photo I made the longest buttonhole I could make... unfortunately when i tried to use a webbing strap it did not fit because it was only an inch long and needed to be two inches. So I did another buttonhole at the top of that buttonhole to make it longer. It's perfect! :D
And ... YOUR DONE!

I hope this is manly enough for my friends SO. I think it is pretty awesome!
That wasn't too hard, now was it? If there are any ideas to improve upon this tutorial... Please feel free to email me at Bugcreator at yahoo dot com.
Thanks for stopping by!

I am linking to some parties... Indulge me here folks I love my parties :P


3 comments:
Yay, I've been needing to make one of these because the store bought one I have doesn't cover the sides of the cart & my son keeps wanting to suck on the bars- gross! Thanks for the tutorial!
erica @ http://bisforboycreations.blogspot.com/
What about the holes for the legs, what did you do about closing them up?
Anonymous- Towards the last few steps where I make the bias tape it gives all the directions on how to use the bias tape. What I did was fold it over the edges and than straight stitch around. :D
Post a Comment